Recommended setup: AI Agent node
The Condens MCP Server is designed for AI agents that chain multiple tool calls to retrieve and synthesize research data. We recommend adding the MCP Client as a tool inside an AI Agent node rather than using standalone MCP Client nodes. You can still chain MCP Client nodes manually, but this requires more configuration.
Step 1: Configure the MCP Client node in n8n
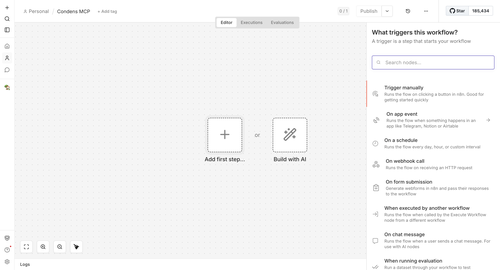
In n8n, click on in the top right corner.
For this example, we'll click on Add first step..., and select Trigger manually as the trigger.
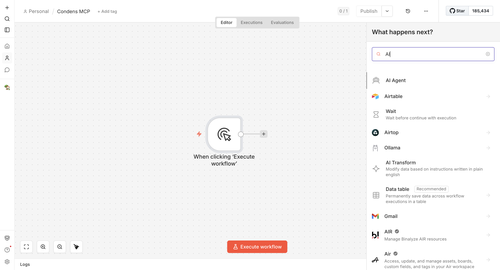
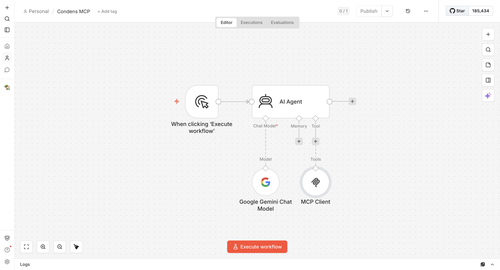
Click on the + and add the AI Agent node.
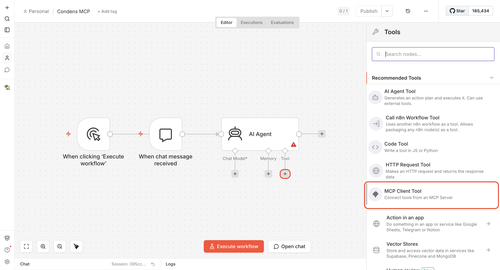
Within the AI Agent node, click on + to add a new Tool and select MCP Client.
Configure it as follows:
Endpoint URL: Copy the MCP URL from your Condens workspace, that can be found under Settings > API & MCP Server > MCP.
Server transport: HTTP Streamable
Authentication: MCP OAuth2
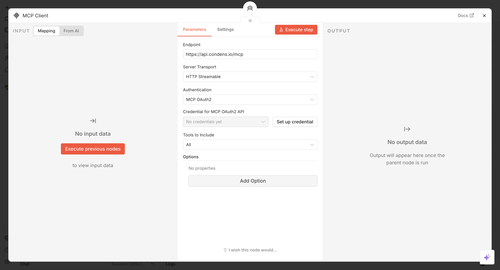
Click . Copy the OAuth Redirect URL — you will need it for the next steps. Please keep this tab open and open Condens in a new tab.
Step 2: Create new MCP client in Condens
Before creating your credentials, decide which Condens account you'll use to authorize the connection:
Your own account — best for personal workflows. Keep in mind that credentials can expire after a period of inactivity. If that happens, whoever re-authorizes the connection will need the right access in both n8n and Condens.
A dedicated Viewer account— recommended for shared or team workflows. A dedicated account keeps the connection predictable and independent of any individual's access or activity.
Option A: Using your own account
An Admin in Condens needs to:
Go to Settings > API & MCP Server
Click
 Add MCP Client
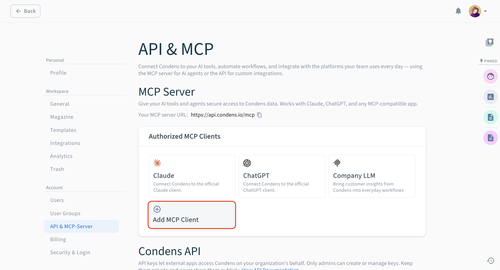
Configure the MCP Client:
Give the client a name, description, and upload a logo.
Paste the OAuth Redirect URL you copied from n8n
Set the Available for to the roles and users who should have access. Once the client is configured, these users will be able to connect to this MCP client via their own account in Settings > Integrations.
Add setup instructions for your colleagues to help them connect to this MCP on an individual level.
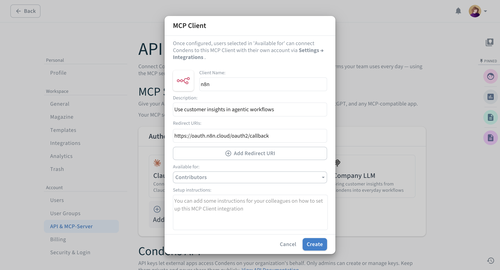
Click .
Option B: Using a dedicated Viewer account

You can find a more detailed step-by-step guide on setting up any custom MCP client with a dedicated Viewer account here.
Set up a dedicated Condens Viewer account for this workflow. For example, using a shared team email like mcp@yourcompany.com.
You'll need admin access in Condens to create the new Viewer account and configure its workspace access to only the content you want available through this workflow.
Then open an incognito/private browser window, log into Condens with that account, and follow the same credential steps as Option A. The authorization in the following steps will be done as that Viewer account.
Step 3: Authorize the connection
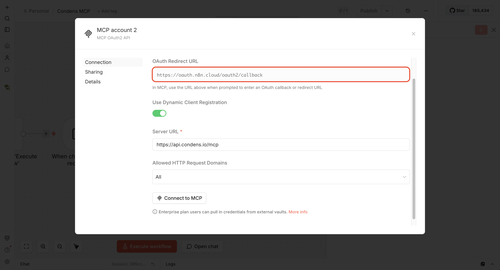
Go back to n8n and paste the Server URL, just below where you copied the OAuth Redirect URL from.
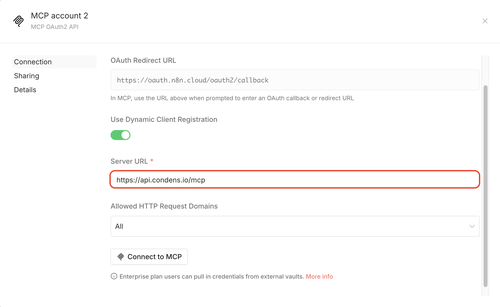
Click .
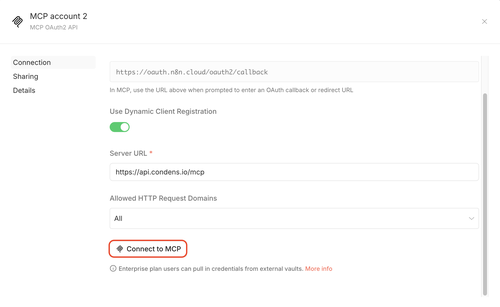
If everything is configured correctly, n8n will open a new tab with a Condens authorization page. As the final step, click to grant n8n access to your Condens workspace.
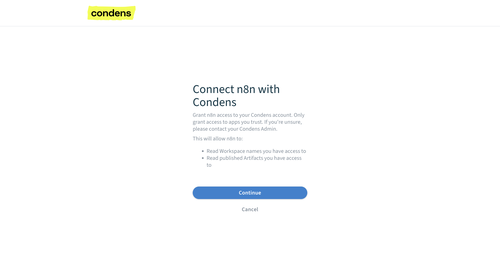
That's it! You can now use the MCP Client node to call the available Condens MCP tools in your workflows. Continue configuring your AI agent as needed by selecting the Chat Model, Memory, and next steps in the workflow.
Need help?
If you run into issues, reach out to us at support@condens.io.
