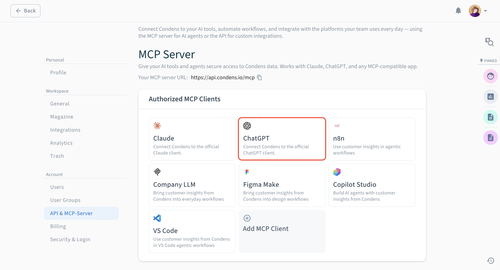
Stage 1: Specify which users ChatGPT is available for
ChatGPT is a preconfigured MCP server in Condens, but you still need to select which users, roles, or user groups can use it.
In Condens, an Admin needs to:
Go to Settings > Account > API & MCP Server, and select ChatGPT.
Specify which users, roles, or user groups can use it.
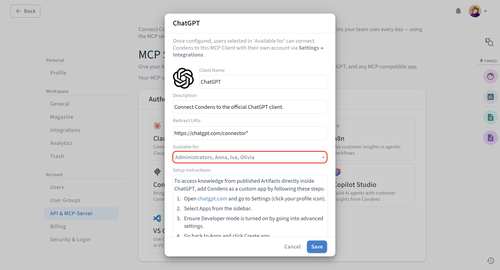
Click Save. ChatGPT will be visible in Settings > Integrations for selected users, who will then need to individually authorize the connection for their accounts as described in Stage 3.
Note: The toggle next to ChatGPT in Integrations shows the connection status, not a setting you need to turn on. If it's off, it means the authorization in ChatGPT hasn't been completed yet — once a user completes the steps below, it will turn on automatically for them.
Stage 2: Create a custom app in ChatGPT
Go to Settings > Apps > Create app.
Note: You may need to activate Developer mode to see this option.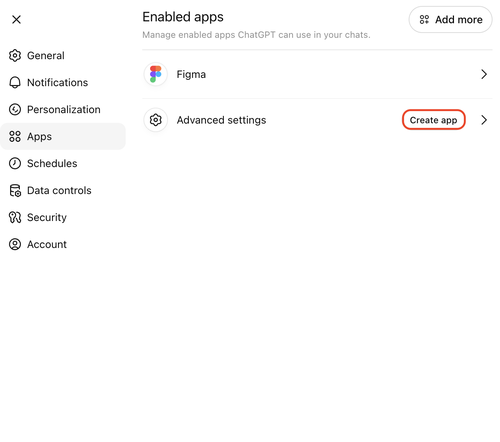
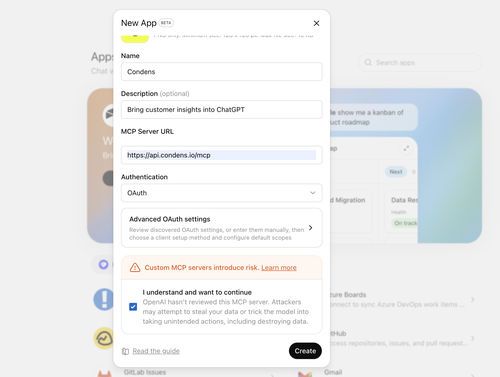
Configure your app:
Add a logo, name, and description for your app.
Enter the MCP server URL. Depending on your server location, it's either https://api.condens.io/mcp (EU) or https://api-us.condens.io/mcp (US). If you're unsure, the correct link is always visible in Condens' MCP Settings for you to copy and paste.
For Authentication, select OAuth.
Check the box next to I understand and want to continue, and then click Create.
You'll be redirected to a screen to confirm the connection within Condens by clicking Continue.
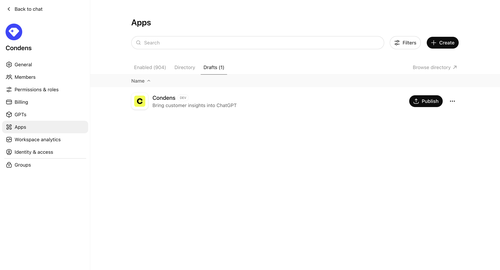
Once your connection is authorized, go to Workspace settings > Apps; your Condens app should be in Drafts. Click on Publish.
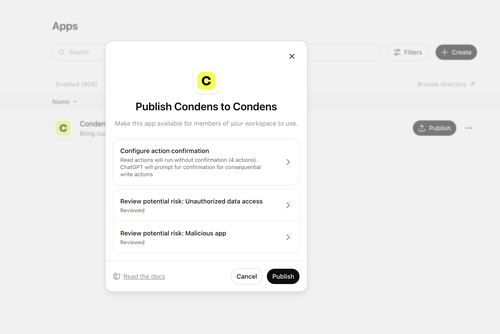
Finally:
Configure action confirmation — Decide whether users need to confirm each read action: get-artifacts, list-published-artifacts, list-workspaces, search-condens
Review potential risk of:
Unauthorized data access by checking the I understand box
Risk of malicious app by checking the I trust this app and I have reviewed the parameters being sent to each action and they do not request sensitive data that they shouldn't boxes.
Click Publish.
Stage 3: Use the custom app as a team
If you use ChatGPT as a team, you can share apps across the workspace, so only one person needs to set up the custom Condens app while other simply connect to it.
Any team member can:
Open Apps in ChatGPT, and search for Condens (or whichever name you gave your custom app in Stage 2, Step 2).
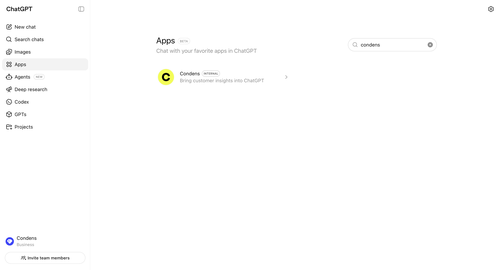
Click Connect.
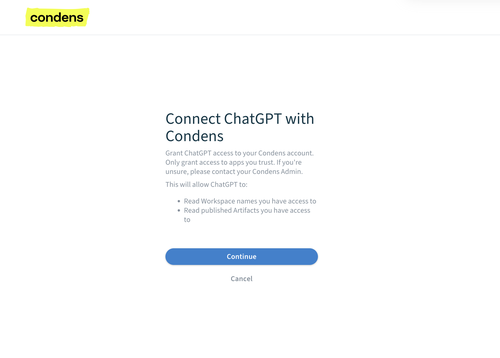
A popup will appear, where you can click Continue to Condens.
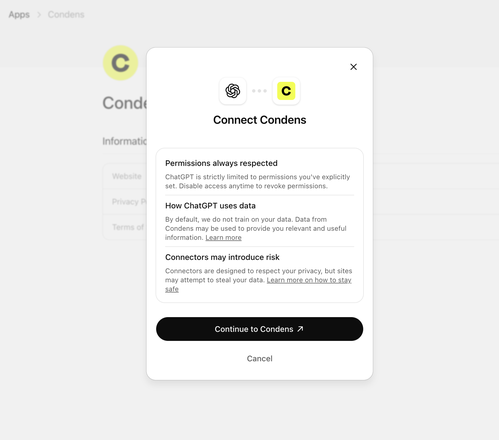
You will be redirected to a new screen to authorize the connection between ChatGPT and your Condens account. Click Continue.
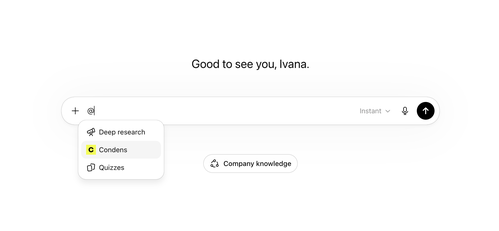
That's it! You can start using the Condens app in any of your chats. Just type @Condens, followed by your query.
Use Condens with custom GPTs
In addition to making the Condens app available across your ChatGPT workspace, you can use it in any custom GPT you build.
Custom GPTs let you control exactly how ChatGPT responds when working with your research. This makes custom GPTs a good option when you want consistent, structured outputs from your research; especially if multiple people on your team are asking similar questions and you want the answers to follow the same format and standards.
The trade-off is that people need to open the specific custom GPT to use it. With the standard Condens app, it's available in any chat automatically via @Condens.

On OpenAI Enterprise plans, you can check your Workspace GPT settings to control who can create GPTs and who can access them.
To build your your custom GPT in ChatGPT:
Go to (Explore) GPTs, and then click + Create.
Adjust the GPT as per your preferences. We suggest utilizing the Configure tab, where you can scroll to the bottom of it to set:
Instructions
You can also write instructions that shape every response: always link back to the source artifact, include the published date so readers know how recent a finding is, suggest related artifacts that might be relevant, and so on.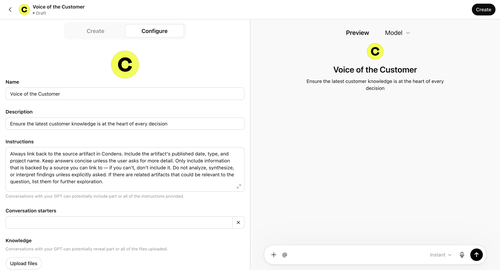
If you want to quickly reuse or adjust the instructions provided in the example, you can copy this into your Instructions:
Always link back to the source artifact in Condens. Include the artifact's published date, type, and project name. Keep answers concise unless the user asks for more detail. Only include information that is backed by a source you can link to — if you can't, don't include it. Do not analyze, synthesize, or interpret findings unless explicitly asked. If there are related artifacts that could be relevant to the question, list them for further exploration.Capabilities
Enable Apps (Beta) and select your Condens app to limit the sources, or combine it with other MCP servers you have connected.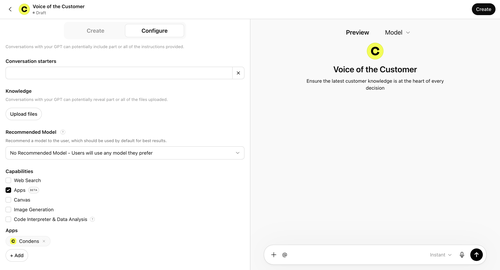
When you finalize your GPT settings and click Create, a popup lets you set access permissions. Set this to workspace level to make it available to all users.
Condens data available in ChatGPT
ChatGPT gets read-only access to published Artifacts in your workspace. That means it cannot create, edit, or delete content in Condens.
Additionally, you only see workspaces, projects, and Artifacts you have access to in Condens. If you have access to multiple workspaces, you can query across all of them.
